Artifacts in New World: Aeternum are powerful items that enhance gameplay with unique effects and abilities. One standout is The Finisher, known for its bleeding synergy and sustained damage potential. Whether you want to maximize combat efficiency, build a high-damage setup, or add it to your collection, this guide covers everything you need to know. From how to obtain it to its key perks and best strategies, let’s dive into mastering The Finisher and gaining an edge in battle!
What is the Finisher Artifact?
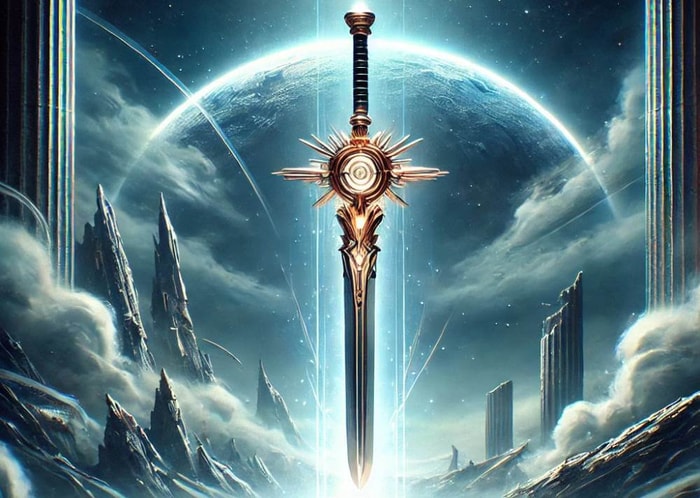
The Finisher is a classic, old-school saber with an elegant and traditional aesthetic. It is a standout weapon for players who favor precision, fluidity, and bleeding-based damage mechanics.
Key Perks and Abilities
1. Finisher Harmony (Primary Perk)
• Effect: Increases damage by 15% against enemies affected by bleeding.
• Cooldown Reduction: Reduces the Flourish skill cooldown by 5% (with a 1-second cooldown limit).
• Combat Impact: This perk ensures consistent bleeding application and leads to higher sustained damage output, making it ideal for prolonged fights.
2. Versatile Application
• Works with primary and secondary weapons, allowing seamless attack transitions.
• Ideal for dual-weapon combat strategies, significantly boosting damage consistency.
3. Synergy and Best Combinations
The Finisher excels when paired with bleeding-focused skills and complementary weapons:
• Rapier Synergy – Combines perfectly with Tondo and Flourish, two Rapier abilities that apply bleeding effects, ensuring continuous damage boosts.
• Secondary Weapon Pairings:
✔ Two-handed Weapons – Combine with Greatswords or War Hammers for a mix of bleeding sustain and burst damage.
✔Bows – Offers ranged pressure while maintaining bleed stacks, allowing for a devastating hybrid playstyle.
Additional Perks
• Deadly Flourish: Increases the power of the Flourish skill, making it even more effective in combat.
• Keen Tondo: Enhances the precision damage of the Tondo skill, boosting overall critical hit potential.
• Fourth Perk (Customizable): Allows players to choose an additional perk based on their preferred build and combat style.
Why the Finisher is Essential
For players who enjoy stacking bleeding effects, chaining skills, and optimizing sustained damage output, the Finisher Artifact is a must-have. It enhances offensive capabilities and improves skill fluidity, making combat feel smooth, precise, and deadly. Whether you specialize in fast-paced melee combat or hybrid weapon strategies, the Finisher will elevate your gameplay, ensuring consistent and devastating damage output.
How to Obtain the Finisher
Step 1: Preparation
Before setting out on your journey to acquire the Finisher Artifact, you must ensure that you meet the necessary level requirements, have proper gear, and assemble a reliable team.
1.1 Level and Gear Requirements
• Recommended Level: 60+ (Lower-level players will have difficulty surviving against high-tier enemies).
• Weapon Requirements: Equip a Rapier or a compatible weapon that benefits from bleeding effects.
• Armor and Resilience: Choose gear with high resilience and defensive attributes to withstand enemy attacks.
• Consumables: Bring a sufficient supply of health potions, stamina potions, and regeneration food to sustain yourself during prolonged battles.
1.2 Assembling a Farming Team
While it is technically possible to attempt this quest solo, Montrapala the Unruled is an extremely difficult boss, and facing him alone is highly discouraged. Instead, forming a dedicated artifact farming team is the best approach. Recommended Team Composition:
• Tank: A player with high durability to absorb Montrapala the Unruled's attacks and maintain aggro.
• DPS (Damage Dealers): Players specializing in dealing with high burst damage, preferably with bleeding effects.
• Healer: A support player who can keep the team alive and mitigate incoming damage.
• Ideal Team Size:
♢ Minimum: 3 players (Tank, DPS, and Healer).
♢ Optimal: 5+ players (Multiple DPS to speed up the fight).
1.3 Setting Up a Respawn Point
Since the Isle of Zurvan can be dangerous, setting up a respawn location is crucial to avoid long travel times if you die.
• Use the nearest shrine or settlement as a respawn point before engaging Montrapala the Unruled.
• Avoid unnecessary fights with minor enemies while heading to the boss's location.
Step 2: Locating the Target Area
The Finisher Artifact is located in the Aelian Wilds region, specifically in the southern part of Isle of Zurvan. To reach Isle of Zurvan quickly and efficiently, follow these steps:
• Fast travel to the "Shrine of the Lion" – This is the closest teleportation point to the island.
• Head south from the shrine – Follow the main path toward the water.
• Cross the sky bridge or swim across the water – If the bridge is unavailable, you must swim, but be mindful of your stamina.
Step 3: Defeating Montrapala the Unruled
Upon reaching Isle of Zurvan, the final challenge begins—the battle against Montrapala the Unruled. This boss does not spawn immediately and requires specific conditions to be met before appearing. Unlike many other world bosses, Montrapala the Unruled is located at the bottom of the island, meaning there is no need to climb any mountains or high structures to find him. Look for a battle arena-like area with ruins and surrounding enemy mobs, and clear unnecessary enemies first to prevent interference during the fight.
3.1 How to Summon Montrapala the Unruled
To spawn Montrapala the Unruled, players must first defeat three elite bosses scattered across Zervan Isle. Follow these steps:
• Locate and defeat the first elite boss near the ruins on the island's western side.
• Head to the second elite boss, typically found near a cave entrance in the central part of the island.
• Take down the third elite boss, usually positioned near the coastline on the southeastern edge of the isle.
• After all three elite bosses are defeated, Montrapala the Unruled will spawn at the bottom of the island.
3.2 Strategies for Defeating Montrapala the Unruled
Montrapala the Unruled is a powerful enemy with devastating attacks. Entering this battle unprepared will likely fail.
Montrapala the Unruled’s Combat Abilities:
• Heavy melee attacks that deal massive damage.
• Lunging strikes that hit multiple players at once.
• Summons additional minions during the battle.
Best Strategies to Defeat Montrapala the Unruled:
• Tank Maintains Aggro: The tank should hold Montrapala the Unruled's attention, preventing it from attacking the DPS and healers.
• DPS Focus on Bleeding Effects: Rapier users should stack bleeding effects to utilize the Finisher Harmony perk fully.
• Avoid Area Attacks: Montrapala the Unruled's lunging strikes deal heavy damage—always dodge at the right moment.
• Healers Maintain Distance: Stay at a safe range while healing, as Montrapala the Unruled's minions will often target support players.
Finisher Farming Tips
If your group is experienced and well-organized, you can farm for multiple artifacts while targeting Montrapala the Unruled:
1. Defeat the elephants near Montrapala the Unruled's spawn area.
2. Enter the nearby orange portal after clearing the elephants.
3. Challenge Pgia Peru on the mountain, who has a chance to drop the Lifetaker artifact.
4. After defeating Pgia Peru, three gorillas will spawn on the mountaintop. Your goal is to kill Annoy Aasia for a chance to acquire the Boltcaster artifact.
5. Return to the ground, defeat the elephants, and re-enter the portal to repeat the process.